Periodic Table Pendants
Celeste Christie
Every so often at The Crucible, we have a themed Open House. April is always my favorite - the Science of Art, because I love learning about the processes that make things happen the way they do. I've always been someone who needs to know the "why" and the "how" before I can feel I've truly understood something.
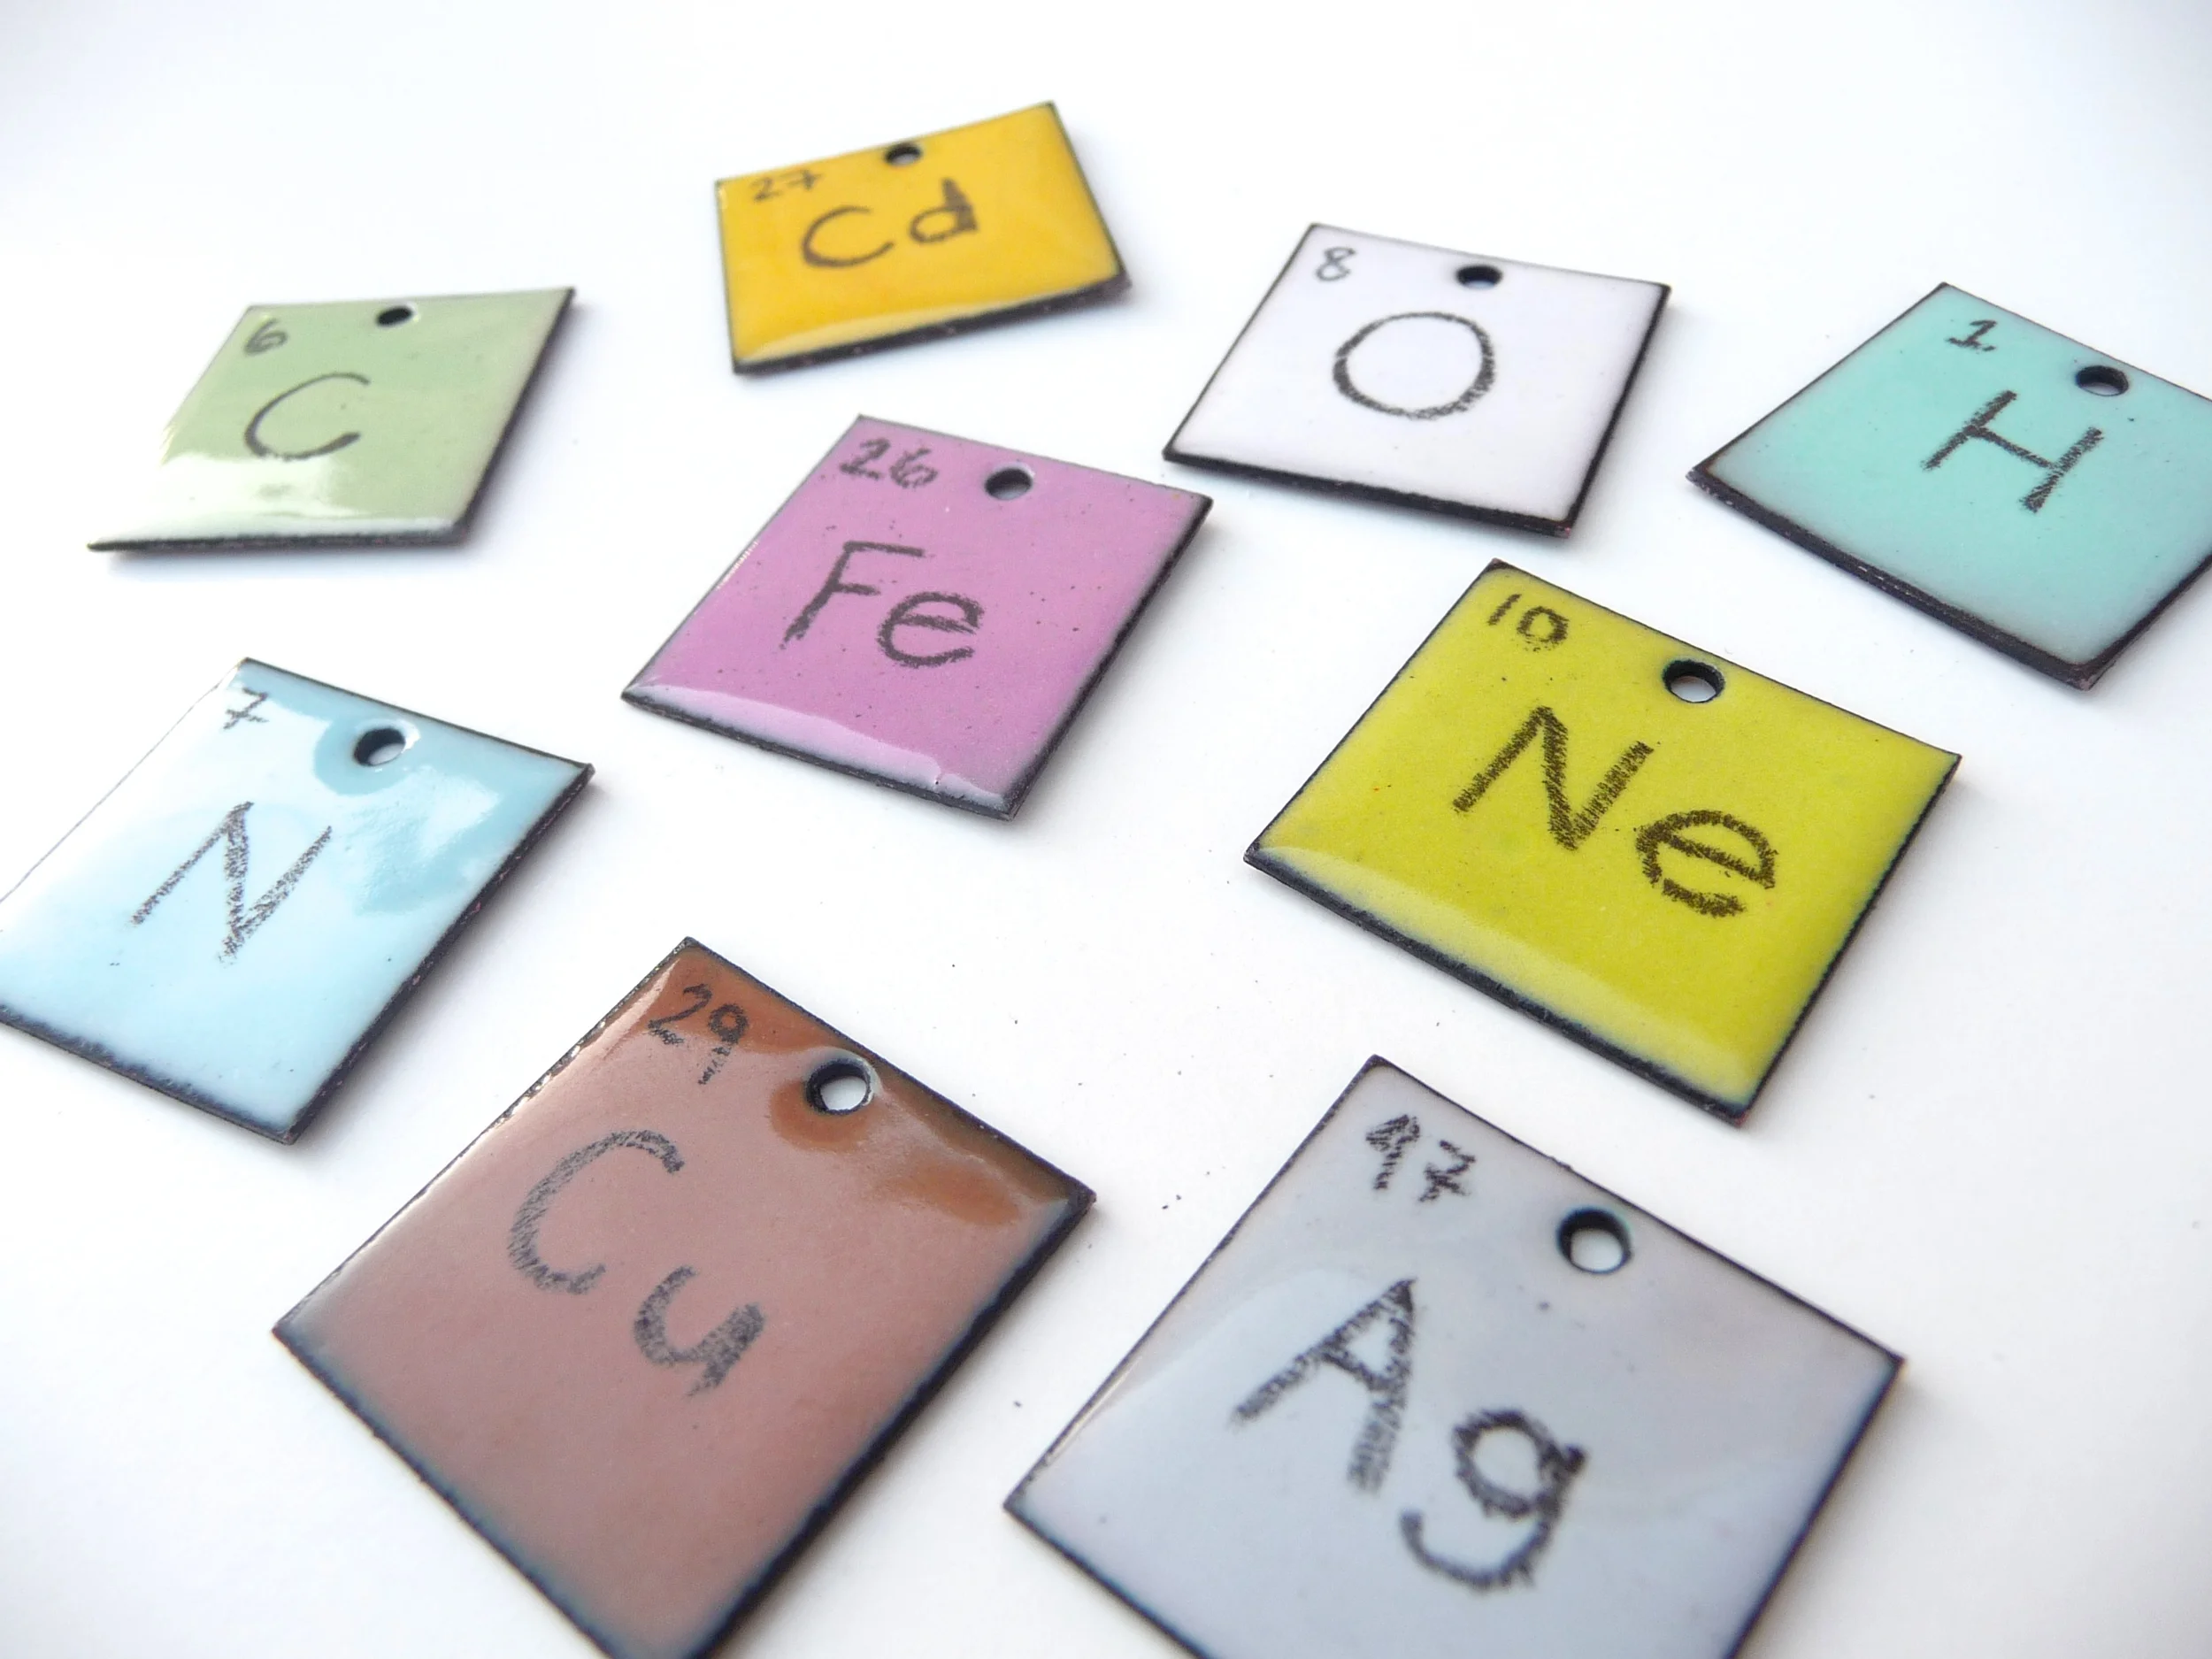
I came up with the idea to celebrate the Periodic Table by making these pendants, and I think they came out pretty cute! At the Open House, these were a hands-on project. I pre-enameled each one with a base pastel color and then acid-etched them to make them matte. I needed the surface to have some tooth so they could be written on with a ceramic underglaze pencil. These pencils are usually used for signing pieces of pottery, or drawing on ceramic pieces, and just like the name says, they go under the glaze. In Enameling, you can write or draw with them and then fire them into the layer underneath, or put more enamels on top and fire. It's always fun to find these areas where different mediums overlap and share materials, and ceramics and enameling have a lot of things that can be shared, like decals, china paints, etc.
At the Open House, people could come up and write the letters and info of their favorite element, and then I fired it for them in the kiln. It only took 2 minutes to fire, and then we added a jump ring and a piece of ribbon and voila!
If you want to make your own Periodic Table Pendant at home, here's what you'll need:
Supplies: 1" square of copper, ceramic underglaze pencil in a dark color (black is classic), a pastel opaque Thompson's enamel (I used white, pastel grey, bitter green, butter yellow, robin's egg blue, ozone blue, clover pink, and chamois brown, which was a bit too dark), counter enamel (this can be waste enamel or any color you want, it's for the back), file, drill, center punch, pickle for cleaning metal, Etchall Dip n'Etch, a jump ring, pliers, ribbon, cord, or chain, an enameling kiln, an 80 mesh sifter
1. Cut your copper to size. I made 1" squares, but you can do whatever size you want.
2. Center punch and drill a hole in the top of one side. File any burr created from the hole being drilled.
3. Sift counter enamel on the back side of the piece and fire for 1-2 minutes in the kiln at 1400-1500F.
4. Put your piece in the pickle until the front side is clean. Alternately, you can sand the fire scale off of the front.
5. Sift your pastel opaque color on the front and fire. If needed, apply a second layer and fire.
6. Put some Dip n'Etch in a non-reactive glass or plastic bowl and gently place your piece in the bowl. It should be covered by the liquid. You should wear rubber gloves for this step.
7. Leave your piece in the Dip n'Etch until you have a matte surface, about 5 minutes.
8. Thoroughly rinse the Dip n'Etch from the piece and dry the surface. Write on the surface with your ceramic underglaze pencil. Take care not to write too thick as it will not fire completely.
9. Fire your piece in the kiln for 1-2 minutes at 1400-1500F. Timing will depend on your kiln and temperature, but I generally find that the pencil will take about 30 seconds less than the initial enamel firing.
10. If you wish, use the file to clean the fire scale from the edges of the piece. Use a pair of pliers to open the jump ring, and then thread the ring through the hole and close it. String the ring on a ribbon or cord. You're done! Wear your element with pride.